


Speakeasy Insert / Organizer
Care information
Care information
Display general product information or specific product information using metafields.
Description
Description
Organizer/insert only. Does not include the board game!
This is an insert / organizer for Speakeasy with the Upgrade Pack that came with the Kickstarter version. It also holds either the wooden money or the cardboard money. It supports vertical storage, premium sleeves (Dragon Shield American Standard sleeves shown in the photos), has no lid lift, and was designed to aid setup and teardown.
One of the main goals with this insert was reduce the game's footprint on the table. Several components are placed vertically to make them easier to see and to minimize table space. We also separated in-game trays from setup trays.
Player setup and in-game trays
- A removable in-game tray with a slot to place the player screen. The player screens that come with Speakeasy are sturdier than most, but they are still prone to tipping and take up quite a bit of space on the table when splayed out. To help with this issue, the in-game tray has a slot where you insert the player screen, holding it securely during play and reducing its footprint.
- During storage, the well in the in-game tray that is hidden by the screen is used to hold components that go on or next to the player board, but during the game, that well is used to hold the safe money. The other wells hold the family members and books that the rulebook shows as being placed next to the player board.
- The remaining components are stored in the setup tray’s large left well. These components all need to be placed on your player board, so needing to sort them into specific slots (as in the stock player trays) seemed unnecessary and only created extra work during teardown. If you want, you could also store a player’s starting goon and money.
- The player aid sits on top of each tray, and the rumrunner card fits in a slot below the in-game tray.
Additional in-game trays that you place directly on the table
- Mobster speakeasy, cop, and goon tray.
- Operations card trays. You can stand these up vertically to reduce table space and make it easier for all around the table to see them.
- Mobster and mobster strength tray. To reduce the table footprint, this tray holds only the B, C, and D mobsters. The A mobsters are used during setup, so they are in a separate setup tray.
- A larger barrel tray holds individual barrel trays for each of the rumrunners. These rumrunner trays lay on top of the dock board and hold the barrels in place so they do not roll around. You can also store the barrels in these trays when storing the game. There is also a holder for the remaining supply of barrels that also goes on the table during play.
- Helper card tray. This has a slot for a display rail that slides into place and vertically holds the three helper cards on offer.
- Crate and leverage token tray. This has a slot for a display rail that slides into place and holds five public goal tiles if you choose to use them. There are two versions – one for the cardboard leverage tiles and one for the wooden ones. The cardboard version holds all the cardboard leverage tokens. However, the wood version will hold only 19 of the wooden leverage tokens. There just wasn’t quite enough height to store all 20 called for in the rulebook. Many people seem to prefer the cardboard tokens anyway, but if you want to use the wooden versions, you could store the 20th tile in the city tile setup tray.
- Money tray. There are separate versions for the cardboard and wooden money. Choose one of the two. For the wooden money, to make it all fit in the same footprint as the cardboard money tray, you need to place a few 100s underneath the 300s. There’s a special slot for them.
Setup trays that you return to the box
- City tiles tray that holds the city tiles in the bag that came with the Kickstarter edition and also comes in the upgrade pack.
- Separate, labeled card trays for the solo and player power cards (including once-per-game and once-per-round powers).
- Large setup tray for all other setup components. If you have a large-format printer, you can print this a single piece. But if your printer is smaller, print the left and right versions, then glue them together. There are alignment features to ensure they join properly.
- Small removable cups for the mobster and cop district tiles. Remove these from the setup tray, shake them up, and then randomly draw your district tiles during setup. After all the random draws are done, dump the remaining tiles out, place them face down, and create the stacks that go on the board.
- Small removable cup for the rumrunner ships and dock tiles. Remove the rumrunner ships, then use the cup to shake up the dock tiles and randomly draw them during setup.
- The red mobster zone control markers are stored in the well beneath the A mobsters in the large setup tray.
Player board elevation clips
- While I liked the idea of raising the player board using the strips that come with the game (and there’s a place to hold those strips in the large setup tray), the strips do not attach to the board, so you need to move them if you move the player board. They also do not elevate the board very much.
- The included clips, which also store in the large setup tray, elevate the board higher to make it easier to get the cards in and out, and they attach so they move with the board. Just be sure not to leave the boards elevated for an extended period of time, as the publisher has said they can droop in the middle.
To achieve the insert as shown, print the number indicated in the filenames (e.g., x4 means to print four of the item) and print one of everything else. The money tray and leverage token tray are exceptions, where you should choose one version, either supporting the wood components or the cardboard. The other exception is the large setup tray. If you have a large format printer (at least 300 mm wide), you can print that tray as a single piece. If not, print the supplied left and right halves and optionally glue them together. The images show how to layer everything in the box. I have provided the original SCAD files in case anyone would like to make improvements for non-commercial purposes.
For a more detailed overview of the insert, you can watch the video below.
Designed by JS5002 on Thingiverse. We have agreement with him to sell his designs in exchange for a royalty. - https://www.printables.com/model/1478608-speakeasy-insert-organizer
Want it Painted?
Want it Painted?
If you would like us to paint your terrain before shipping, please fill out our custom paint request form here.
Delivery and Shipping
Delivery and Shipping
All of our terrain is made-to-order. For the best estimate on delivery time, check the information bar at the top of your screen. For our full shipping policy, please click here.
Quality Guarantee
Quality Guarantee
We proudly stand behind the exceptional quality of our 3D printed products. Our items are crafted with precision and care, ensuring they meet the highest industry standards. If you are not completely satisfied with your order, we offer a hassle-free return policy with a full refund. Your satisfaction is our top priority.


Our Commitment to Excellence
-
![]()
Quality
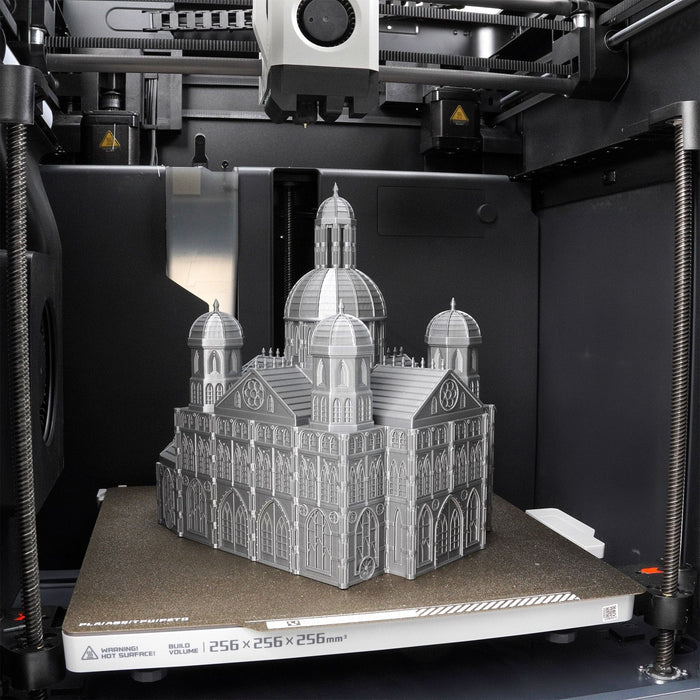
We use professional-grade 3D printers to craft our products, ensuring each piece meets the highest standards of precision and durability. Our advanced printing technology allows us to create intricate designs with exceptional detail and consistency.
-
![]()
detail
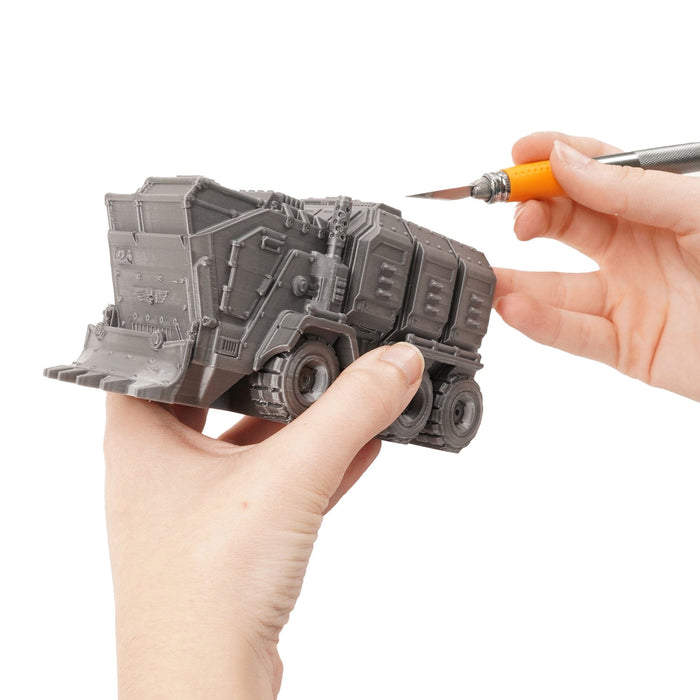
Each of our products is meticulously hand-cleaned and inspected to ensure it meets our strict quality standards. This thorough process guarantees that every item you receive is free of imperfections and ready for use right out of the box.
-
![]()
speed
We pride ourselves on industry-leading made-to-order fulfillment times, often shipping within just one or two days of order placement.